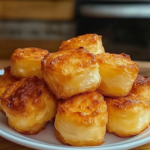
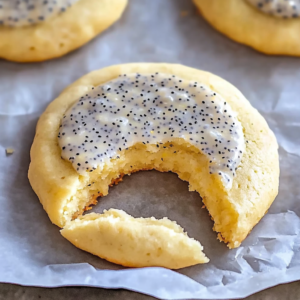
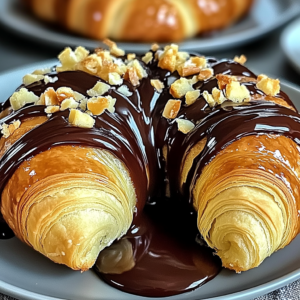
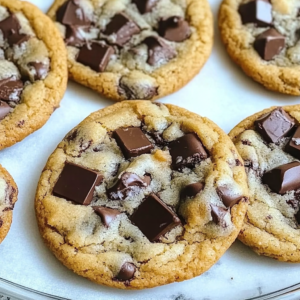
There’s something delightfully whimsical about Nun’s Puffs, with their airy texture and sweet, creamy filling that practically dances on your taste buds. Picture this: golden, puffed pastries that resemble little clouds of happiness, lightly dusted with powdered sugar and waiting to be devoured. The aroma wafts through the kitchen, making it nearly impossible to resist sneaking just one – or maybe two. Trust me, once you take a bite of these delightful treats, you’ll be hooked.
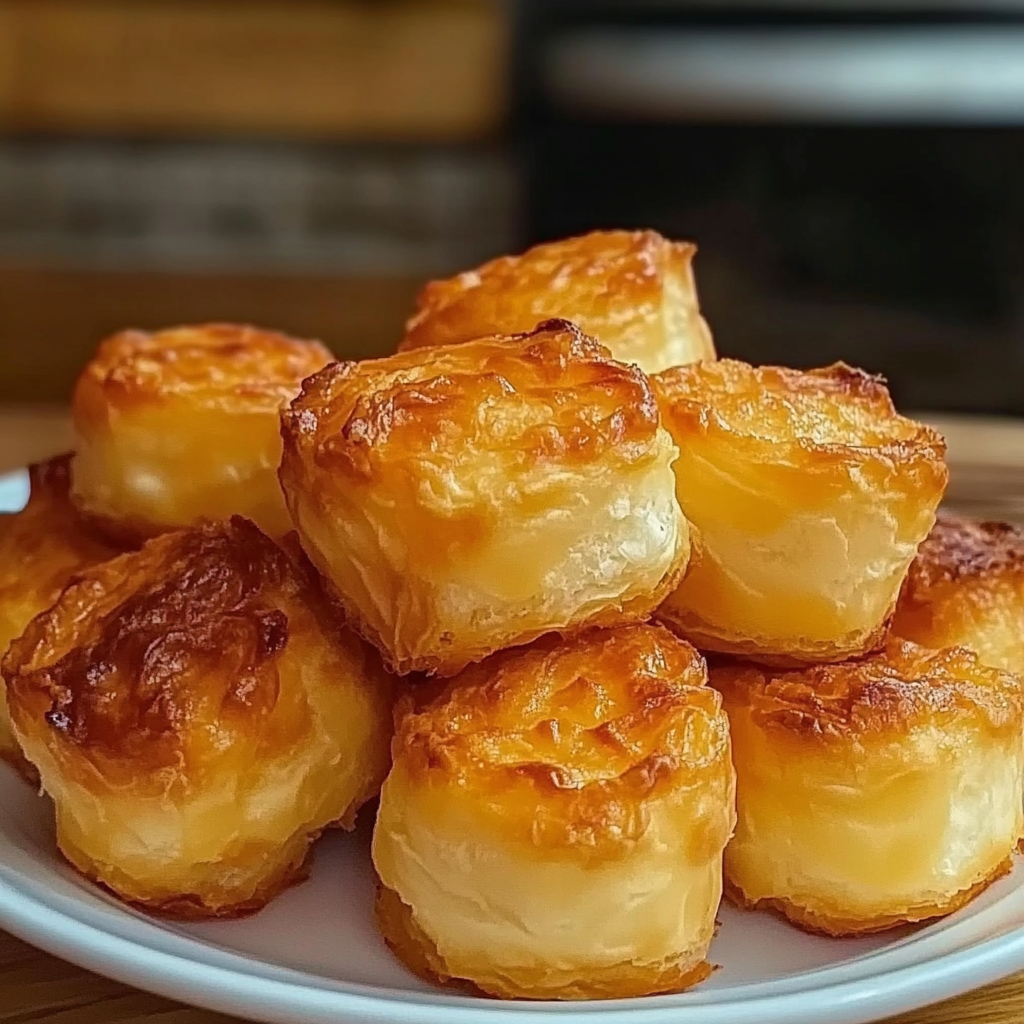
Now, let me take you back to a sunny afternoon in my grandmother’s kitchen where I first experienced these heavenly bites. It was the kind of day where the sun kissed your skin just right, and laughter echoed as we baked together. The anticipation of those warm, fluffy puffs filled the air with joy. Whether it’s for a brunch gathering or a sweet surprise after dinner, Nun’s Puffs at Home are perfect for any occasion where happiness is on the menu.
Why You'll Love This Recipe
- These Nun’s Puffs are incredibly easy to prepare, ensuring even novice bakers can impress their friends.
- Their light and airy texture combined with a hint of sweetness makes them irresistibly delicious.
- Visually stunning, these treats look like they belong in a fancy pastry shop but can be made right at home.
- Perfect for breakfast or dessert, they are versatile enough to fill with your favorite creamy delights.
Ingredients for Nun’s Puffs at Home
Here’s what you’ll need to make this delicious dish:
- Milk: Whole milk works best for creaminess; it helps create that rich flavor we all love.
- Butter: Use unsalted butter for better control over the saltiness; it adds richness to the dough.
- All-Purpose Flour: This is essential for structure; use fresh flour for the best results.
- Eggs: Large eggs create a lovely rise in the puffs; bring them to room temperature for optimal mixing.
- Vanilla Extract: Pure vanilla extract enhances flavor; don’t skimp on this magical ingredient.
For the Filling:
- Cream Cheese: Softened cream cheese provides a delightful creamy filling; make sure it’s at room temperature.
- Powdered Sugar: This adds sweetness and helps achieve that perfect frosting consistency.
The full ingredients list, including measurements, is provided in the recipe card directly below.
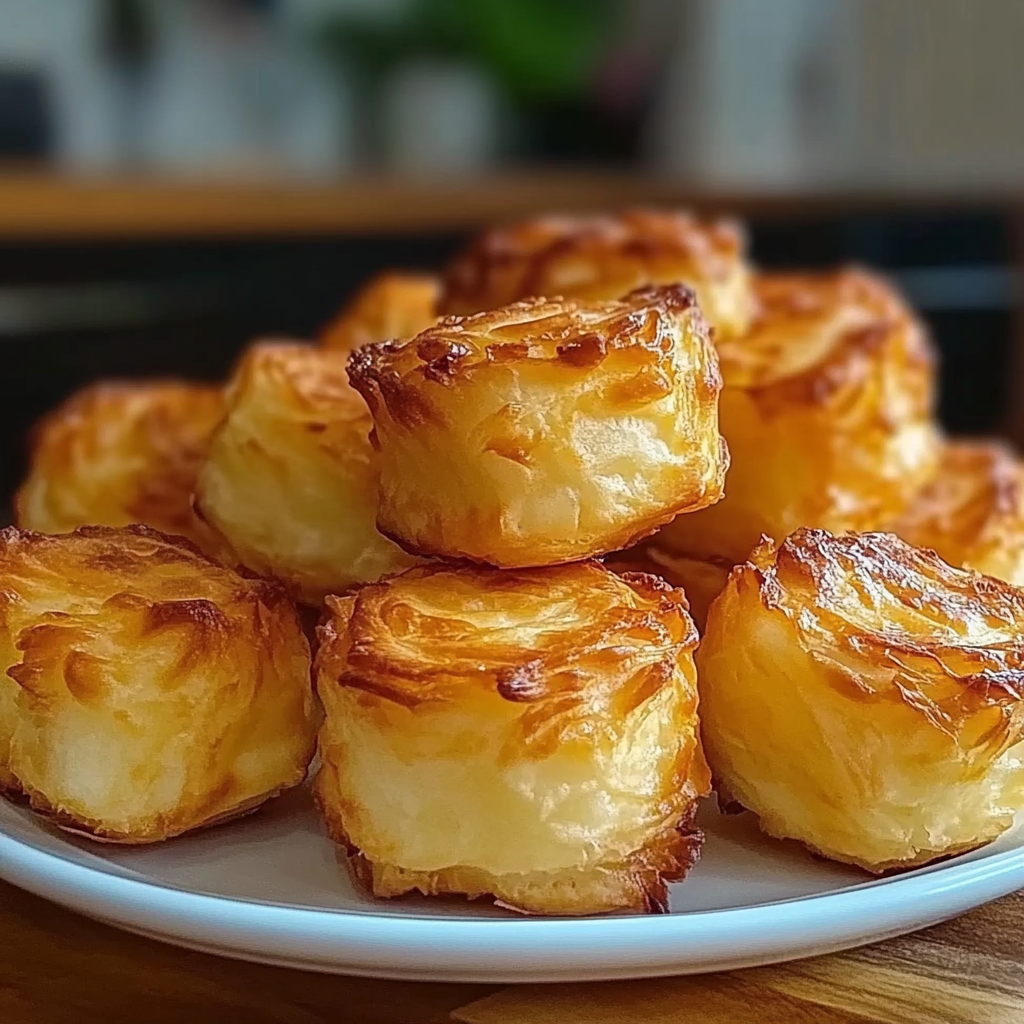
How to Make Nun’s Puffs at Home
Follow these simple steps to prepare this delicious dish:
Step 1: Preheat Your Oven
Preheat your oven to 400°F (200°C). Line a baking sheet with parchment paper or spray it lightly with nonstick cooking spray—let’s avoid any sticky situations here!
Step 2: Prepare the Dough
In a medium saucepan over medium heat, combine milk and butter until melted. Bring it to a boil while stirring often—this is where magic begins! Once it boils, reduce heat and add flour all at once. Stir vigorously until it forms a ball that pulls away from the sides of the pan.
Step 3: Incorporate Eggs
Remove from heat and let cool slightly—don’t burn those fingers! Add eggs one at a time, mixing well after each addition until smooth and glossy. The dough should feel like silky clouds ready for takeoff!
Step 4: Pipe Those Puffs
Transfer your dough into a piping bag or use two spoons (because who doesn’t love improvisation?). Pipe small mounds onto your prepared baking sheet—aim for golf ball-sized portions. Trust me; they will puff up beautifully!
Step 5: Bake Until Golden
Bake in your preheated oven for about 20-25 minutes until golden brown and puffed up like little balloons of joy! Do not open that oven door early or they may deflate faster than my hopes of becoming an Olympic gymnast.
Step 6: Whip Up the Filling
While those beauties are baking, beat together softened cream cheese and powdered sugar until fluffy and smooth. You can add vanilla extract here too—because who doesn’t want an extra layer of fabulousness?
Once your puffs are cooled slightly but still warm, carefully slice them open and fill with your creamy mixture.
Transfer to plates and dust with powdered sugar for that chef-worthy finish. Enjoy every cloud-like bite while reminiscing about those sunny afternoons in Grandma’s kitchen!
You Must Know
- These delightful Nun’s Puffs at Home are not just a treat; they add a touch of whimsy to any gathering.
- Fluffy, sweet, and slightly crispy, they create an atmosphere of joy that’s irresistible.
- Perfect for dessert or a cheeky snack, they’re a must-try!
Perfecting the Cooking Process
First, preheat your oven to 375°F (190°C) and prepare your baking sheet with parchment paper. Start by mixing the batter while the butter melts on the stove. This way, you ensure the batter is ready to go as soon as that buttery goodness is bubbling.
Add Your Touch
Feel free to customize your Nun’s Puffs at Home by adding vanilla extract or almond extract for extra flavor. You can also sprinkle in some chocolate chips or chopped nuts for added texture and taste. The possibilities are endless!
Storing & Reheating
Store any leftover Nun’s Puffs in an airtight container at room temperature for up to two days. To reheat, simply pop them back in a warm oven for about five minutes to regain their fluffiness and crispiness.
Chef's Helpful Tips
- For perfect Nun’s Puffs, use fresh eggs for maximum fluffiness.
- Avoid overmixing the batter; it should be light and airy.
- Lastly, don’t skip the cooling time this helps them maintain their shape.
Sharing my first experience making Nun’s Puffs brings a smile. My friends devoured them so quickly that I barely got one! Their laughter and delight filled the kitchen, making it a memorable evening.
FAQs:
What are Nun’s Puffs at Home?
Nun’s Puffs at home are delightful pastries that have a light and airy texture. These treats are made from a simple choux pastry, which gives them their unique puffed shape. Traditionally enjoyed as a dessert or snack, they can be served plain or filled with whipped cream or fruit. Making Nun’s Puffs at home is an enjoyable baking experience, and the results are sure to impress your family and friends.
How do I make Nun’s Puffs at Home crispy?
To achieve crispy Nun’s Puffs at home, ensure that you bake them at the right temperature. Start with a high heat to create steam inside the pastry, which helps it puff up. After about 10 minutes, lower the temperature to allow for even cooking without burning. Also, avoid opening the oven door too soon; this can cause your puffs to deflate. A well-baked puff should have a golden-brown exterior and a hollow center.
Can I fill Nun’s Puffs at Home with different flavors?
Absolutely! You can fill Nun’s Puffs at home with a variety of flavors. Popular fillings include vanilla pastry cream, chocolate mousse, or fresh whipped cream mixed with fruits like strawberries or raspberries. Experimenting with different fillings allows you to customize your Nun’s Puffs according to your taste preferences. Just ensure that the filling complements the lightness of the pastry for the best experience.
How do I store leftover Nun’s Puffs at Home?
To store leftover Nun’s Puffs at home, keep them in an airtight container in the refrigerator. This will help maintain their texture and prevent them from becoming soggy. For best results, consume them within two days for optimal freshness. If you want to freeze them, place unfilled puffs in a freezer-safe bag. When you’re ready to enjoy them again, simply reheat in an oven to restore their crispiness.
Conclusion for Nun’s Puffs at Home:
Making Nun’s Puffs at home is a rewarding culinary adventure that results in deliciously airy pastries. With just a few simple ingredients and techniques, you can create puffs that are perfect for any occasion. Remember to maintain proper baking temperatures and experiment with various fillings to enhance your treats further. Whether enjoyed plain or filled, these delightful pastries will surely become a family favorite!
Nun’s Puffs
Nun’s Puffs are delightful, airy pastries that bring joy to any occasion. With their golden-brown exterior and creamy filling, these sweet treats offer a burst of flavor in every bite. Perfect for brunch or dessert, they are easy to prepare and will impress family and friends alike. Indulge in the nostalgia of homemade baking with this simple yet rewarding recipe.
- Prep Time: 15 minutes
- Cook Time: 25 minutes
- Total Time: 40 minutes
- Yield: Approximately 12 servings (24 puffs) 1x
- Category: Dessert
- Method: Baking
- Cuisine: American
Ingredients
- 1 cup whole milk
- 1/2 cup unsalted butter
- 1 cup all-purpose flour
- 4 large eggs (room temperature)
- 1 tsp vanilla extract
- 8 oz cream cheese (softened)
- 1 cup powdered sugar
Instructions
- Preheat your oven to 400°F (200°C) and line a baking sheet with parchment paper.
- In a saucepan over medium heat, combine the milk and butter until melted. Bring to a boil, then reduce heat and stir in the flour until it forms a ball.
- Remove from heat, let cool slightly, then mix in eggs one at a time until smooth.
- Pipe small mounds onto the baking sheet and bake for 20-25 minutes until golden brown.
- While baking, beat cream cheese and powdered sugar together until fluffy. Fill cooled puffs with the mixture.
Nutrition
- Serving Size: 2 puffs (70g)
- Calories: 210
- Sugar: 9g
- Sodium: 180mg
- Fat: 12g
- Saturated Fat: 7g
- Unsaturated Fat: 4g
- Trans Fat: 0g
- Carbohydrates: 22g
- Fiber: <1g
- Protein: 3g
- Cholesterol: 80mg
Keywords: Customize fillings by adding chocolate chips or fresh fruit for extra flavor. Store leftovers in an airtight container for up to two days; reheat in the oven to restore texture.

